> ## Documentation Index
> Fetch the complete documentation index at: https://www.offlineprotocol.com/docs/llms.txt
> Use this file to discover all available pages before exploring further.
# Building a React Social App with Offline ID
> Step-by-step guide to integrating Offline Protocol ID into your social app.
### 1. **Download the Offline Protocol SDK**
Install the SDK into your React project:
```bash theme={null}
npm install @offline-protocol/id-react
```
or
```bash theme={null}
yarn add @offline-protocol/id-react
```
### 2. Setup the OfflineProvider
Wrap your app’s root layout (layout.tsx or index.tsx) with the OfflineProvider to enable authentication and connections across the app.
```typescript layout.tsx theme={null}
import type { Metadata } from "next";
import { Geist, Geist_Mono } from "next/font/google";
import "./globals.css";
const geistSans = Geist({
variable: "--font-geist-sans",
subsets: ["latin"],
});
const geistMono = Geist_Mono({
variable: "--font-geist-mono",
subsets: ["latin"],
});
export const metadata: Metadata = {
title: "Create Next App",
description: "Generated by create next app",
};
export default function RootLayout({
children,
}: Readonly<{
children: React.ReactNode;
}>) {
return (
{children}
);
}
```
### 3. Handle Authentication
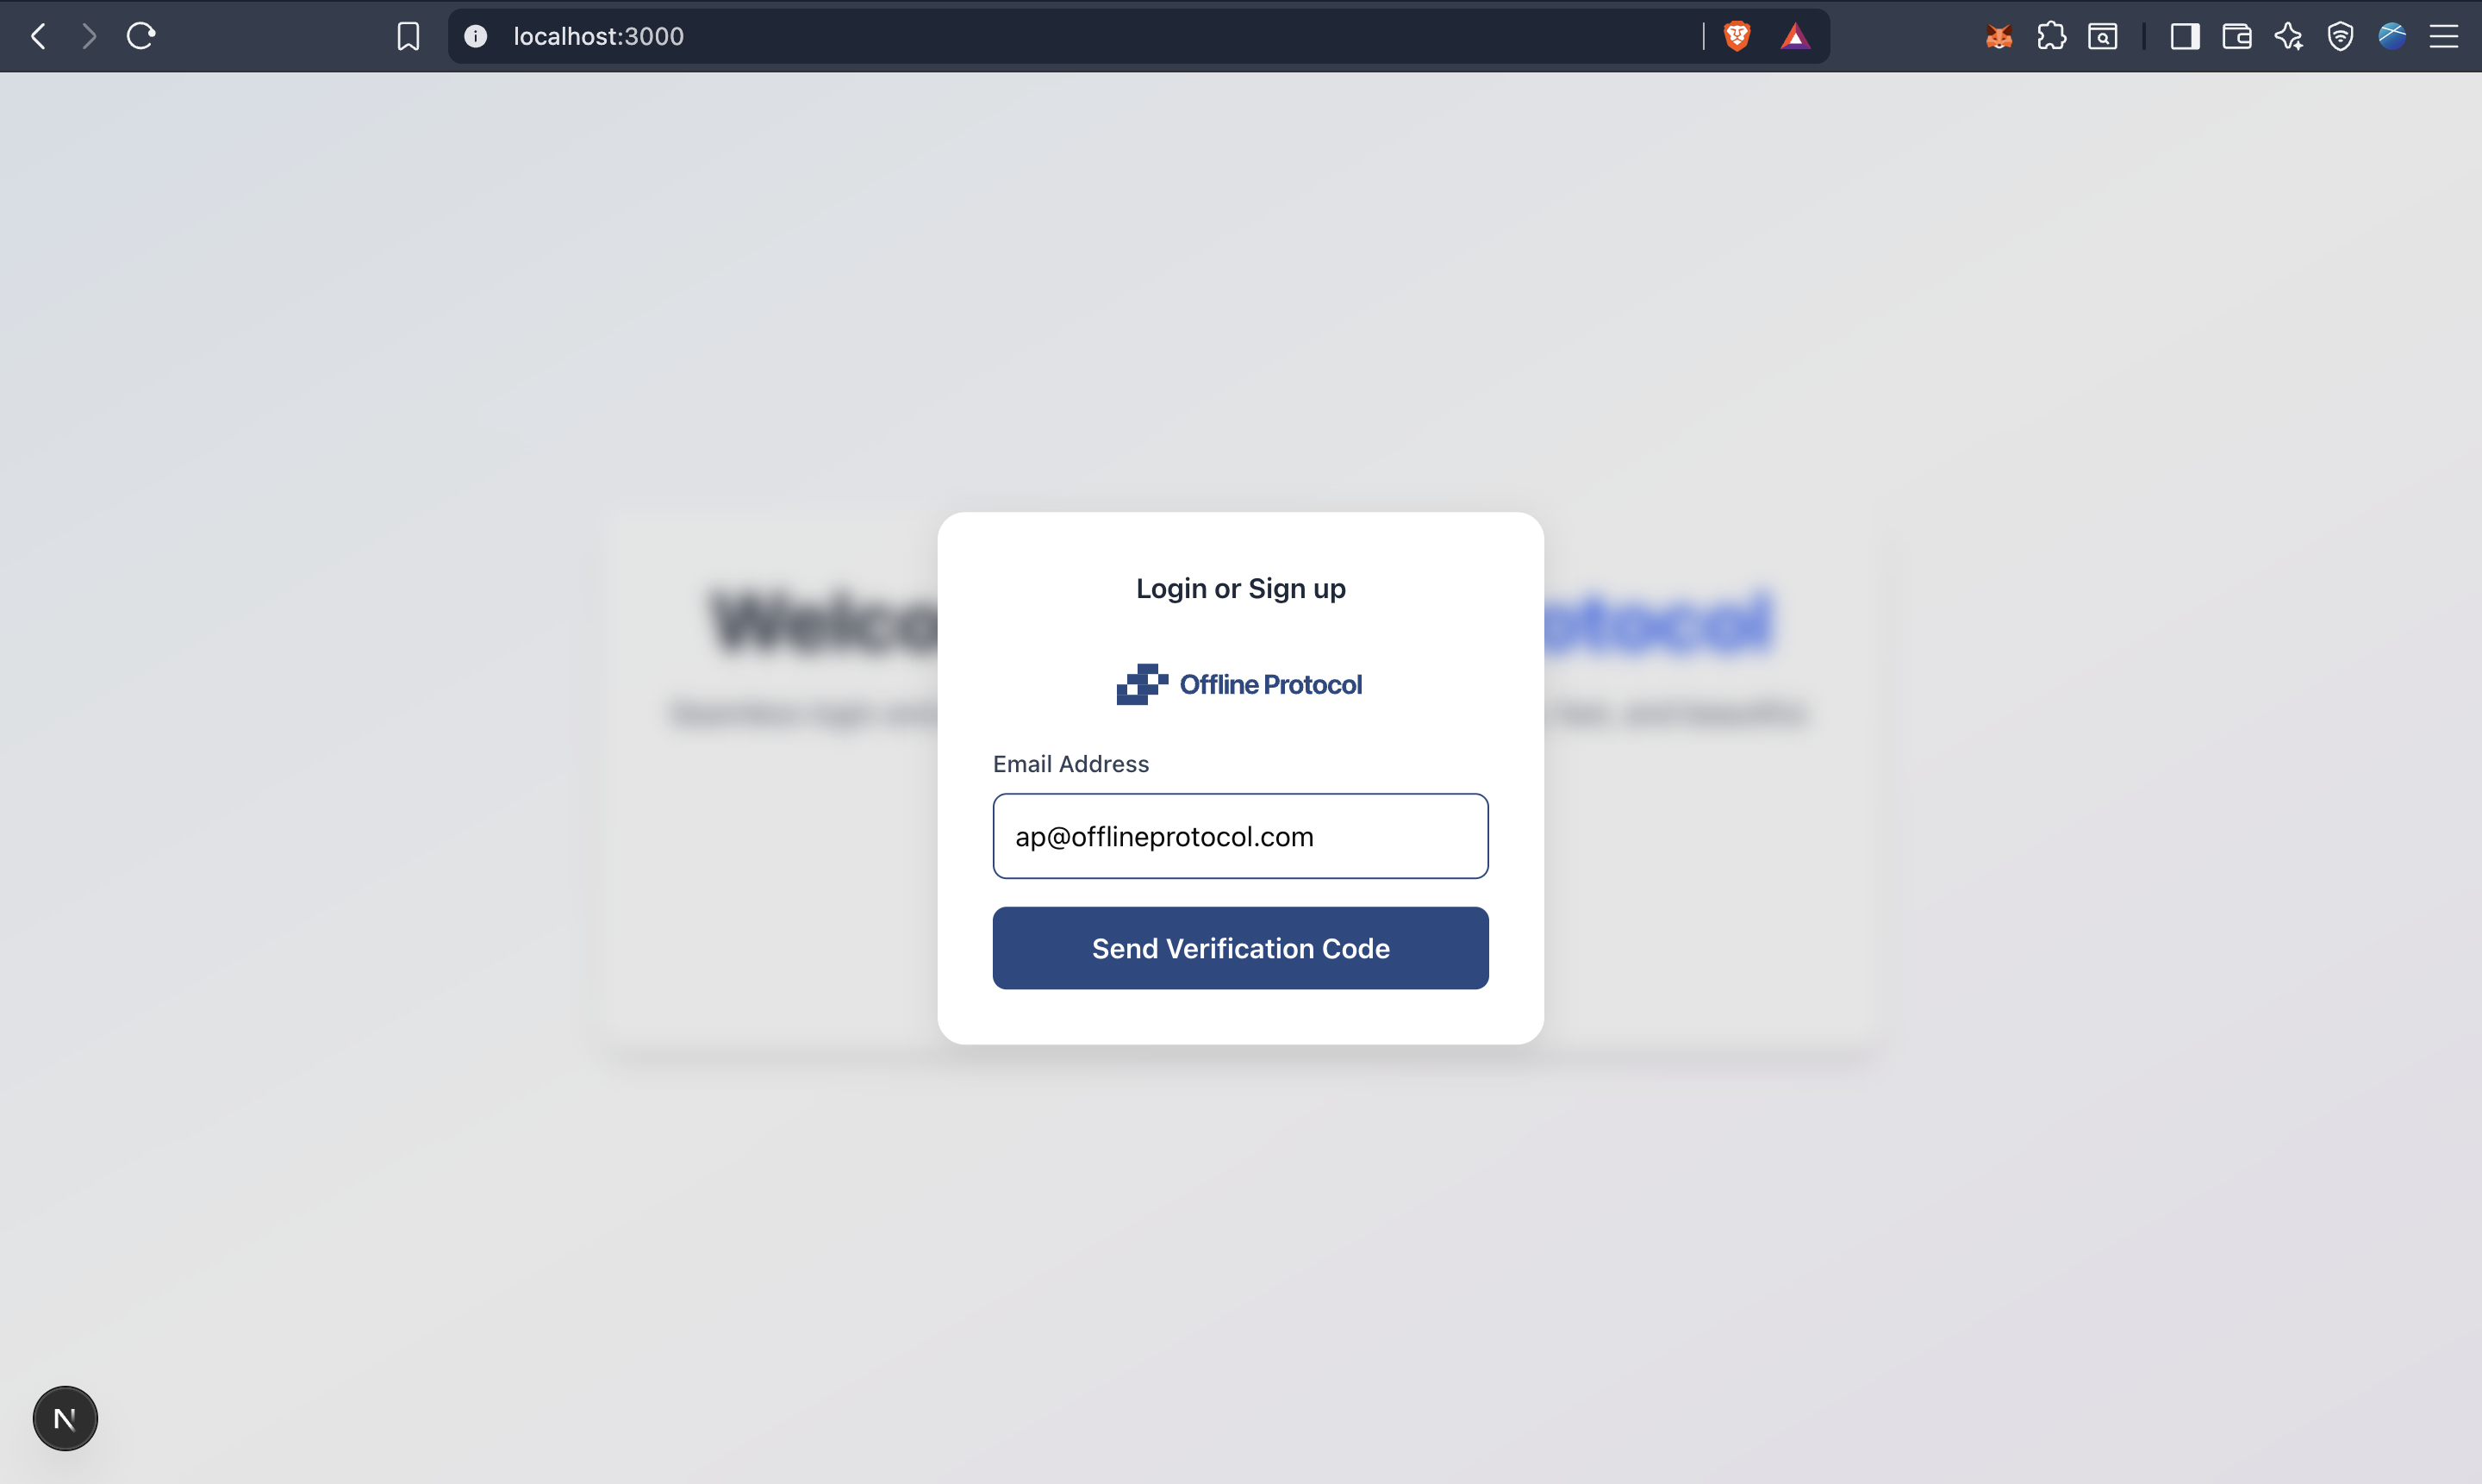
Use the `useAuth` hook to check if the user is logged in. If the user object is null, show the login form; otherwise, render the main app.
```typescript theme={null}
export default function App() {
const { user, loginWithModal } = useAuth();
if (!user) {
return (
);
}
return ;
}
```
### 4. Request Login Code and Verify
### 5. First Login Experience
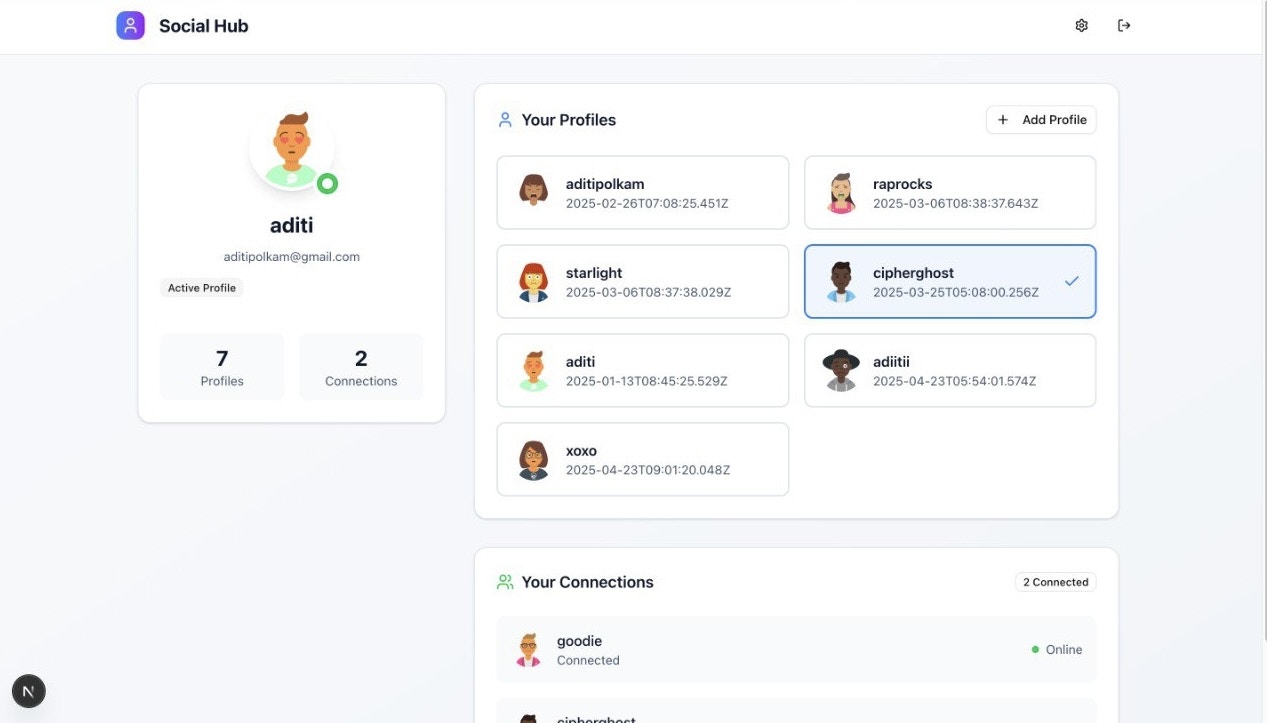
After signing in, users will land on the home page where their existing profiles and connections are automatically synced from Offline Protocol. Display the connections or profiles and other details the way you prefer.
 ### 4. Request Login Code and Verify
 ### 5. First Login Experience
After signing in, users will land on the home page where their existing profiles and connections are automatically synced from Offline Protocol. Display the connections or profiles and other details the way you prefer.
### 5. First Login Experience
After signing in, users will land on the home page where their existing profiles and connections are automatically synced from Offline Protocol. Display the connections or profiles and other details the way you prefer.